Showing posts with label Scraps. Show all posts

Tuesday, January 20, 2015

WEEK 4 - WORKING WITH SCRAPS

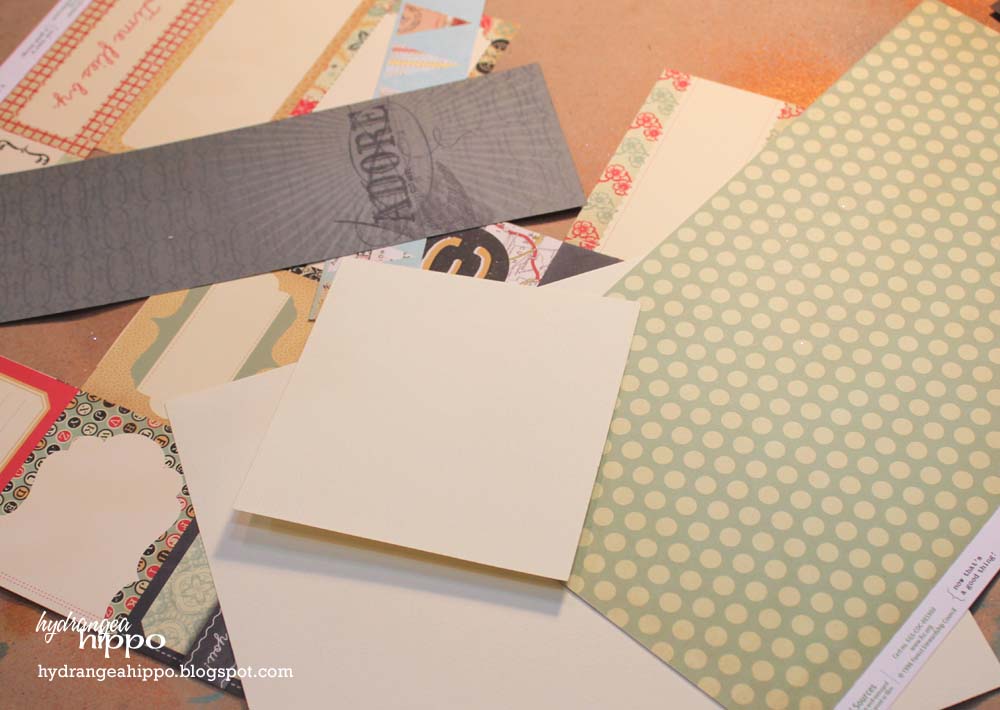
Hi everyone, Nancy here today.  Do you ever have scraps of paper you really want to use, but just don't have quite enough to really make the page work?  How about a few techniques to fill in those blank spaces.

Supplies Used:

  • Glitz Designs Patterened Papers, Chipboard, Overlay, Stickers
  • Prima Marketing Flowers, resin
Step 1:  I had quite a few photos from this day at the beach so I began by plaing them in an eye pleasing arrangement.  I love making multi-photo pages as they really can set a mood for the event.

Step 2:  Knowing I needed to make this a two page layout I began cutting my scrap papers to stretch across the two pages.  Since the second page had fewer large photos, I started with it.  It is easiest to hide the missing pieces of paper when you have large photos to cover.
Step 3:  As you can see, I didn't have quite enough of the "wave" paper to go all the way across the first page.  I added a bit of stripe along the right side, but that still left a hole on the left.
Step 4:  I used one of the large stickers from the collection to hide the missing paper and added my photos.  Since you can't see under the stickers, you can't tell there isn't paper underneath.
Step 5:  After mounting one of my stickers onto additional patterned paper, I attached my other photos, a few stickers and a piece of an overlay to the second page and my layout was complete.
Had I not said anything, no one would have ever guessed that I pieced this page together with odd bits of leftover paper scraps.

My scraps are often some of my favorite papers and I love using each and every piece.


Tuesday, July 1, 2014

#4 - Christmas in July

This month's kit over at Hydrangea Hippo is all about Christmas in July!!! If you haven't yet scrapped your Christmas photos from last year (or 20 years ago) now is as good a time as any to put those pics on pages! 


Here's how to make this page:


Subscribe to the Hydrangea Hippo newsletter and follow us on Facebook for more crafty goodness!

Jennifer Priest Jan 2012
Signature Blog NEWSLETTER

Thursday, July 18, 2013

The Daily Scrapbook Page - Layout #12


Tonight I decided to do a Google Hangouts On Air to capture the making of this layout. It was fun! I will do them again so follow me on social media (see all those buttons at the bottom of this post) to catch when Iannounce them. They are kind of on the fly ... luckily they always get recorded so you can watch later if you can't watch and chat LIVE :)

This page is all about using up your stash. A few diecuts, some scraps of paper, OLD paper getting used up, digging through embellies I don't want to put away, and experimenting, with Smooch Accent Ink in this case. I hope you enjoy it! 

Like I said in the video, I don't particularly love single photo layouts because they are not practical to those of us scrapping for not just the love of creating but also to save our memories. Even though this page has one mat, I can include more photos using a strip of smaller images or use the mat to hold 2 smaller pics. Consider ways to adapt single photo designs to include more photos.


Here's how I made this layout ("today" and pointer diecuts added after video stopped):


Supplies:

  • Smooch Spritz in Gold Glow - Clearsnap
  • Smoch Accent Ink in Silver, Spruce, Lime Twist - Clearsnap
  • Diecuts - Silhouette America
  • Punches - Fiskars, Marvy
  • Buttons - hydrangeahippo.etsy.com
  • Paper by Jillibean Soup, Pink Paislee, American Crafts
  • Cardstock - Bazzill

Thanks for stopping by! If you enjoyed our blog, please subscribe and follow us here:

Facebook Twitter YouTube Pinterest Instagram Google+

Tuesday, July 9, 2013

The Daily Scrapbook Page - Layout #7


Yay! Day 7 of the Daily Scrapbook Page is here!

Can you believe it -- this is the same paper colelction I used YESTERDAY but with a totally different look! That is one of the things I really love abotu Crate Paper and also about using scraps. They are what you make them.


Here's how I made this layout:


Supplies:
  • Paper, Stickers, Chipboard Stickers by Crate Paper
  • ColorBox by Stephanie Barnard Premium Dye Inkpad
  • Epoxies by Epiphany Crafts
  • Kraft Paper by Bazzill
  • Punches by EK Success, Fiskars
  • Pen by Kuretake Zig
  • Circles Die by Sizzix
  • Vintage Book Pages, Buttons from hydrangeahippo.etsy.com
  • Stamp by Hero Arts
  • Tim Holtz Tiny Attacher Stapler
  • Adhesive by Bazzill (runner), American Crafts (3D Foam Dots), glue gun
Please join us for another layout tomorrow!! Hope this inspires you to think of your scraps in a different way and use them to create create create!

Thanks for stopping by! If you enjoyed our blog, please subscribe and follow us here:


Facebook Twitter YouTube Pinterest Instagram Google+

Saturday, July 6, 2013

The Daily Scrapbook Page - Layout 4


Yay! Day 4 of the Daily Scrapbook Page is here. This is a simple one to do with scraps -- all you need is a little bit of paper and some leftovers from another project! It wouldn't be July if we didn't throw a little Christmas in the mix, right? I still have not scrapped last Christmas--yikes, I know?! Well, if you are like me, then this is a great and easy layout to make, especially when Christmas themed paper might be scarce in your local scrapbook store at this time of year.


Here's how I made it:


Supplies:
  • Paper, Chipboard Stickers, Pom Trim, Stickers by Crate Paper
  • Label DieCut by Silhouette
  • Epoxies by Epiphany Crafts
  • Stickers by Bella Blvd
  • Twine by The Twinery
  • Punches by Fiskars
  • ColorBox Fluid Chalk Cat's Eye Ink pad
  • Background paper by Basic Grey
Please join us for another layout tomorrow!! Hope this inspires you to think of your scraps in a different way. No 12 x12 paper was harmed during the making of this layout....


Thanks for stopping by! If you enjoyed our blog, please subscribe and follow us here:
Facebook Twitter YouTube Pinterest Instagram Google+

Friday, February 25, 2011

Layout 7: February 25, 2011

We're back to using scraps this week. I had some leftovers from the layout I made last week and instead of putting them away (where they will collect dust for 5 years) I made another page with them! I know of several people, and I did this myself at one time, who never save scraps. They make something out of everything on the table until it is gone. That's the way to do it! This layout is made in that spirit.


Supplies:
Cutouts Sheet - Cosmo Cricket
Number Stickers for title - American Crafts
Tiny Alpha Stickers - Cosmo Cricket
Cardstock - Bazzill
Brad - American Crafts
Tag - K & Co
Stickers - 7 Gypsies
Chipboard Stickers - Sassafras Lass
Border - Bazzill
 

Cut out the tags from the Cutout Sheet using their design as your guide. Why re-invent the wheel, right? For the one tag that had a scalloped edge, I trimmed around it with scalloped edge scissors. It does not matter that the scallops don't match -- they're close enough!


Adhere photos along one side of the Black Cardstock in a column about 1" from the edge. Add one focal photo to the right of that, slightly overlapping two of the photos in the column.


Arrange the tags along the right edge of the photo column. 


Add letters for a title and journaling on the tags. A Pearl Brad in one of the tags is a nice subtle accent.


Add the border to the left side of the photos with a couple Chipboard Stickers. Add label stickers around the page as desired.


That's all for this week -- an easy page, using scraps, in about 15 minutes.

---Jennifer
 

Friday, February 18, 2011

Layout 6: Friday February 18, 2011

This week's layout is all about scraps!! This is a great page to do when you have lots of strips of paper and it can all be done in just about 30 minutes. I also used some old supplies from my stash.

Here's the page, about my daughter's extra large Snoopy:


Supplies:
  • 6x12 Paper Strip
  • 3x12 Paper Strip
  • 7 Gypsies Gaffer's Tape, Book Binding Tape, or other brand of decorative tape
  • 2 Metal Label Holders (7 Gypsies or Lil Davis I think...) with rivets or brads
  • Tiny Alphas (My Little Shoebox)
  • Large Alphas for title (American Crafts)
  • Strip of Paper with Banner printed on it (this is Girl's Paperie I believe)
  • Black Cardstock (Bazzill in Raven)
  • Pinked Circle Punch by Martha Stewart
  • 6x4 Cream Cardstock
  • Smooch Sprtiz in Silver Foil
  • Ribbon by May Arts
  • Background Paper - 7 Gypsies 
One of the things I find challenging on my pages is using themed embellishments. This page is all about Snoopy so it makes sense to use Snoopy themed products on the page.  It's a struggle to create a themed page where the theme does not overwhelm the photos. Just keep it simple. On this page I used a single rub-on to pull the them from the photos and then let the colors in the papers and photos do the rest of the work.


 This layout and next week's feature a bunch of scraps from my stash. I pulled out a few different scraps and made a pile of coordinating pieces, pulling from the pile for boththis week's and next week's pages.


Adhere the strips of paper (3" and 6") across the middle of the background paper. 


Run a length of tape across the top of the page, overlapping the 6" piece of paper. 


Cut the banner out of the patterned paper. Using 3 D Foam Dots, adhere the banner vertially on the page.


Add the label holders in the upper left corner of the page, on top of the tape.
Fold (but don't crease) th4 4x6 Cream CS in half and cut the corners off to make a tag. 


Spray the tag with Smooch Sprtiz in Silver Foil. 


Add a Black CS circle to tag (punched with Martha Stewart punch) and then add a ribbon bow. Add to the lower right side of page. Add photos, title, and journaling. Insert tiny alpha stickers in the label holders to make a subtitle.


Add a themed rub-on and you're done!