Tuesday, August 23, 2016

Clean and Simple Scrapbooking with Journal Cards #34

Hello everyone!!  It's me, Kymona and I'm super excited to be here.  I'm here to show you how to create a clean and simple scrapbooking page with journaling cards.

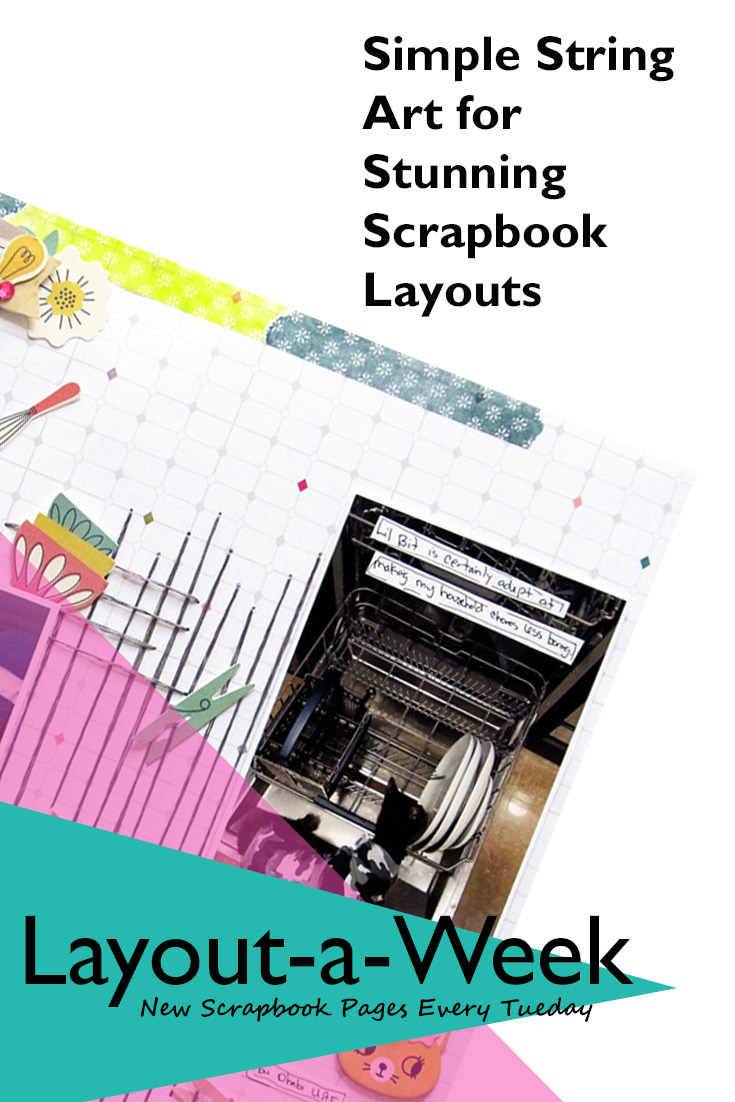
Would you believe if I told you scrapbooking was my first love before card making?  Well it was!!  I use to create scrapbooks for my son, when he was born.  That was 18 years ago and boy have things changed.  Scrapbook pages are so elaborate these days I wasn't sure where to begin.  Now don't laugh at me but its true.  Do you start with the paper, the embellishment, the colors or photos?

When Jennifer asked me about scrapbooking I told her my story and my dilemma.  She kindly let me know that she had a solution for me!! Yayyyy!!  The Layout A Week team!!  The goal is to inspire scrapbookers, new and old (thats me), on how to create easy to make layouts with no waste!!

Lets get started!!

Here is a list of supplies:

When I sat down to think about what I wanted to create, I knew I wanted a modern look with a  clean and simple feel, since that's my style.

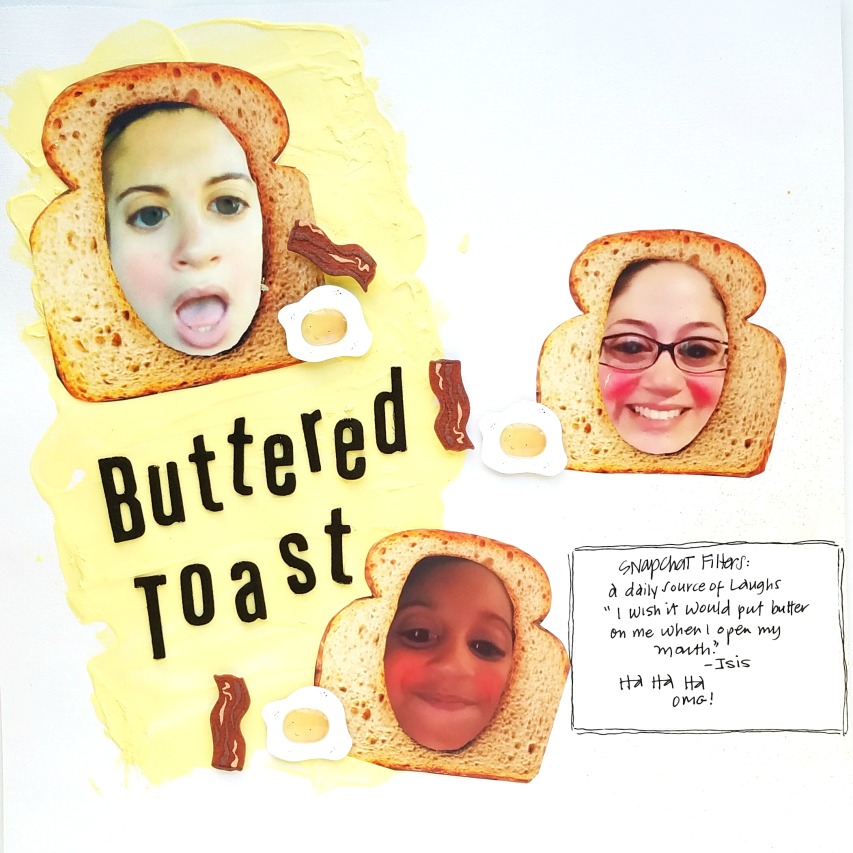
So I went with a pocket page!  I see so many of them these days, I wanted to give it a try.

Take a look at what I created:


Here is how I created this page:

1. Scrolled through all of your pictures on your computer in search of the perfect pictures. That will help you decide how many pockets you will need to create for this page.  Print the pictures, size them, add stickers, then place them in their pockets.

2. Then decide on the pattern papers/journal cards you wanted to use that matched what was happening in the photos. Once you pick them all out, add them to their pockets.

3. After that, pick out some embellishments that matched the colors on the pattern paper. Add them to the pocket of your choice.


4. Decorate the pocket that has the embellishment with a sticker.


5. Type or write your message, add a sticker then add it to its pocket.


6. Seal all of the pockets so that nothing falls out to the pockets.

Nice, easy and definitely clean and simple.

So what do you think?  Would you give this style of scrapbooking a try? I would love to hear from you.  Leave a  comment below.

Thanks for stopping by!

~Kymona


Tuesday, August 16, 2016

Simple String Art for Stunning Scrapbook Layouts- Week #33


Texture and dimension are integral parts of scrapbook page design. Creating a simple string art background is a quick and easy way to give your page both. 


Quick Tips for creating a Simple String art Background:

  • Choose your supplies first. The color of your supplies will guide your selection when it comes to choosing the color of your string.
  • Choosing a piece of patterned paper with a grid or polka dots can save you time. You won't have to use a ruler to measure or align the dots. You can use plain cardstock. If you do, be sure to mark your dots lightly with a pencil. Light pencil marks are easier to erase than dark ones.


  • If you plan to tuck stickers among the string( like I did), have some scrap cardstock at the ready. Back the stickers with the cardstock and cut it out. You don't want that die cut to stick flat to the string, you want it to pop up off the page slightly. The cardstock will give the sticker some heft and enable it to stick up from the page with support.Use a craft knife to trim off excess cardstock or to remove cardstock from inner sections of the sticker( as with the space inside the kettle shown above).


Take a look at this video to see just how easy it is to create this string art background.


Supplies Used

Jewels: Duck Tape Brand


Monday, August 8, 2016

Buttered Toast Scrapbook Page Week #32

Hi Rose here! Today, I am going to share with you two things, a little secret about me and a very, quick, easy, and fun, multi-photo scrapbook layout. I'm in love with Snapchat. The filters bring me so much laughter that I check in every single morning to start my day. If you're not familiar with Snapchat, it's an app on your phone. It has a series of filters that can alter your appearance, voice and even interact when you raise your eyebrows or open your mouth. It has a lot of other cool features going on, but for the sake of this post, you get the gist. 

My daughter had discovered the newest Snapchat filter (unbeknownst to her, I had already discovered it). Bread! She says to me "mom, they have bread", I responded with "I know", she says, "I wish it would put butter on me when I open my mouth" as she swiftly sent me a snap. When I received it, I laughed so hard. I had to screenshot it for future laughs and entertainment. This post contains affiliate links.


"If buttered toast is what she wants, buttered toast she shall have!"


Buttered Toast Scrapbook Page

Start with a piece of white cardstock. I want the focus to remain on the images and speak the title loudly, so I kept the background very simple. 


Blend white gesso and Clearsnap Smooch Spritz in sun kissed to create creamy buttery yellow. Then add in gel paste to give it a bit of depth for the effect of slathered butter.


Using a palette knife spread on as you would butter on toast. Use a heat tool to dry or set it aside to dry over night.


Print images and fussy cut the "pieces of bread". With my HP Printer, I used HP Snapshots to print my snapchat images. I love the HP Snapshots because they're already adhesive. Much like stickers, just peel the plastic backing and adhere to your projects.


Next, adhere your images. Embellish with eggs and bacon embellishment stickers (so simple and so easy) and add title using letter stickers.


Lastly, add journaling, This Buttered Toast Scrapbook Page would not have been complete without the inclusion of the memory.


Have you ever tried creating your own "medium" for mixed media backgrounds? 
Leave a comment below, I'd love to hear your ideas.

Supplies/Materials:


Tuesday, August 2, 2016

Adapt a Pattern for Smaller Photos - Week #30

It's Nancy, bringing you week #30 of Layout-A-Week! I have nearly 30 years of photos from before I started scrapbooking that are in boxes, waiting for me to give them some attention. One of the challenges of using them is that they are smaller than today's standard size of 4" x 6" prints, so they don't match a lot of today's supplies for creating quick and easy pages.

Today I'm working with photos from 1994 using a page design from Cutting Pattern #3 of Jennifer Priest's Scrap Free Scrapbooking ebook. This page layout pattern is designed for two 4" x 6" photos, but like most of the patterns is easily adaptable to smaller photo sizes. Using Scrap Free Scrapbooking is one of my favorite ways to get my older photos into albums! This post contains affiliate links

The layout is designed to have the large patterned paper block on it, and then two 4" x 6" vertical photos in the bottom left corner. With the smaller photos (3.5" x 5") in place, it left loads of room vertically and horizontally to fill.
I filled this room by adding another photo - this one horizontal - in the upper right corner, and a large title block across the center. 
The large text title was cut out as text on my Cricut Explore die cutting machine. It's great being able to cut out detailed items like this, but not so fun having to adhere them. I always run them through my Xyron machine to turn them into stickers. It's a real sanity saver! 
Since these photos are so old, I don't have a lot of detailed memories to journal to go with them. Strip journaling is the perfect solution for when you only have a few details to add to a layout. 
I typed my strips up in Microsoft Word and left an extra line in the document in between the lines that I wanted to turn into strips. Then I just printed it out and trimmed it into strips on my Westcott Titanium paper trimmer. 
I used the text stickers to add a bit more journaling to the layout, while also adding some decoration as well. I wanted the photos to be the focus, and I also didn't want the layout to be too busy and compete with the already busy photographs. The stickers give a nice touch of detail and color without being overwhelming. 
I used the flower stickers to "frame" the center section of the layout. They fill white space and keep the eye from falling off the edge when reading the strip journaling and stickers. 
In the Garden layout by Nancy Nally
Go dig those boxes of old photos out of the closet! With some creative use of patterns, you could have them scrapped in no time at all. 

Supplies: